
Testing Cable Loss with a Spectrum Analyser
Solution: A spectrum analyser with a tracking generator can be a useful piece of test gear. This application note covers making a simple loss measurement on a coaxial cable with BNC connectors.
Required:
– Two N-type to BNC Adapters. Select adapters that convert N-type (in/out connectors on most spectrum analysers) to the cable type you are testing. Also note that higher quality connectors (Silver plated, Beryllium Copper pins, etc..) equal better longevity and repeatability.
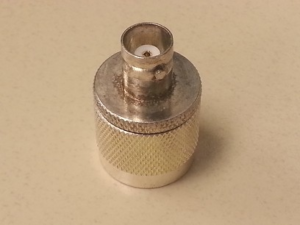
Figure 1: N-type to BNC adapter
– A short reference cable with terminations that match your adapters and cable- under-test.
– An adapter to go between the reference cable and the cable-under-test. This experiment will use a BNC “barrel connector”. Note that higher quality connectors (Silver plated, Berylium Copper pins, etc..) equal better longevity and repeatability.
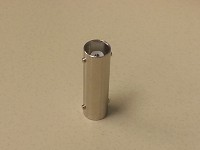
Figure 2: BNC barrel adapter
– Alternately, you can use two adapters a short cable as a reference assembly to normalize the display before making cable measurements. This removes the need to have the cable-to-cable adapter.
– Spectrum analyser with Tracking Generator (TG) Steps:
1) Turn on Spec An and attach adapters to the tracking generator (TG) output and RF Input.
2) Connect the reference cable to the TG out and RF In.
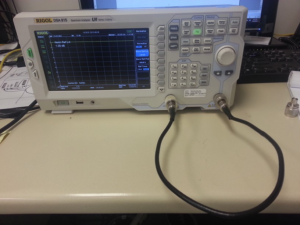
Figure 3: Measuring reference cable
3) Adjust Span of scan for frequency range of interest.
4) Adjust TG output amplitude and spectrum analyser display to view the entire trace.
5) Enable TG.
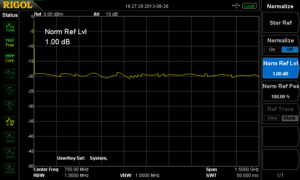
Figure 4: Reference cable insertion loss before normalisation.
6) Normalize the reference insertion loss. This mathematically subtracts a reference signal (stored automatically) from the input signal.
– With the Rigol DSA815 Press TG > NORMALISE > STOR REF and then Enable Normalise
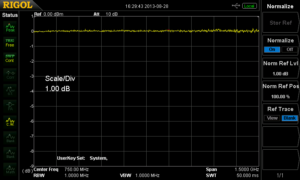
Figure 5: Reference cable insertion loss after normalization.
7) Disconnect the reference cable from the RF input.
8) Place cable-to-cable adapter (BNC barrel or other) and connect to the cable to test.
9) Connect the cable-under-test to test to RF input and enable the TG.
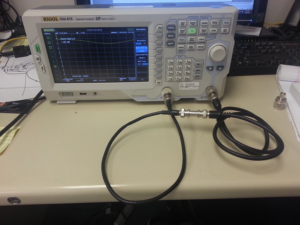
Figure 6: Cable-under-test connected.
The screen displays the cable-under-test losses plus the error of the cable-to-cable adapter.
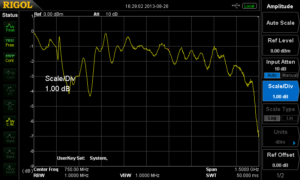
Figure 7: Cable-under-test loss.
Products Mentioned In This Article:
- DSA800 Series please see HERE